Procedure
- Review the Cutting Stencils for Multilayer Prints Powerpoint as a class.
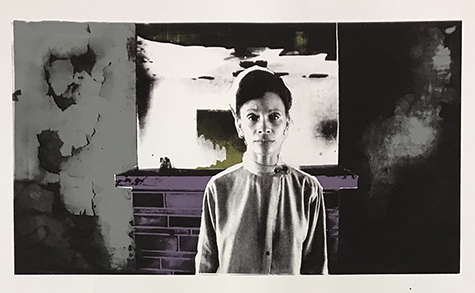
- Each student needs three pieces of paper or Duralar cut to the size of the inside dimensions of their silkscreen. Students will be making three stencils, one for each of the three layers of color in their print. The fourth and final layer of color will be the photographic image that students exposed on their screen in lesson three.
- Using their film positives, have students place one piece of paper or Duralar over their film positive on a light table .
- The first stencil is layer one – students should decide the color they are going to print first and then trace only the shape(s) associated with that color. Students should mark their stencils with the layer number and color, for example “Layer one – gray”.
- Carefully cut out the shape(s) using a cutting tool.
- Continuing to use their film positives, students will trace the shape(s) for layer two and layer three in the center of another piece of paper. Cut out these shapes, as well.
Note: If your students are printing more than one color combination, have them cut extra paper stencils for each layer because the stencils are discarded after printing each layer or cut stencils from Duralar, since those may be used multiple times.
Wrap-up
After students have finished cutting out their three stencils they can prepare for printing in the next lesson by mixing their three ink colors:
- Mix ink in re-sealable containers.
- Label ink with student’s name and layer number.
